
.png&w=1920&q=75)
Blogs/Desert Sound
How to Achieve the Best Picture Quality for Your Home Theater Projector Setup
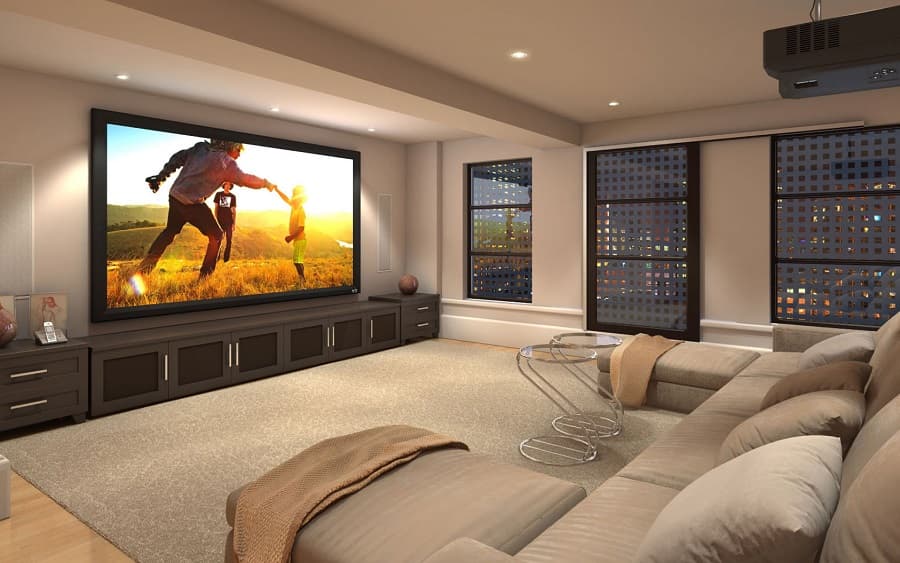
A soft or washed-out image is usually the room or the setup, not a dead lamp.
Match the projector to the room
Brightness (lumens) and resolution have to fit the space. A dim unit in a sunlit lounge looks grey. An overly bright unit in a small dark room is harsh. Larger rooms need more light on the screen. 4K costs more and only helps if the screen and seating can show it. Bright rooms often need a high-output projector — 3000 lumens or more is a common starting point, confirmed on site.
Place it on the throw
The manual lists a throw range for a given image size. Too close or too far, and you get blur, a small image, or a stretched one. Level the lens to the screen centre. Do not "fix" a bad position with keystone if you can still move the mount.
Pick a screen that fits the light
A poor screen adds glare or kills colour. Matte white suits a dark room. Grey can help when you cannot fully black out. Size must match the projector's resolution and how far people sit. A huge screen on a modest projector looks soft.
Control the light
- Heavy curtains on the screen wall
- Dimmers instead of a bright overhead
- No lamps aimed at the image
Contrast lives or dies here.
Set the picture, then the sound
Leave the box on "vivid" and you will fight green or crushed blacks. Use a cinema mode, then tune on a film you know. Skip auto-keystone if it warps the geometry.
A sharp image still needs speakers at ear height, a receiver set for the room, and a check on real content. Picture and audio are one system.
Desert Sound sets throw, screen, light, and calibration together. See home theatre installation.
Continue exploring
Contact
Ready to plan the room?
+92 21 111 570 111 · info@desertsound.com.pk
22-C/II, 2nd Zamzama Commercial Lane, Phase V, DHA Karachi
Get in touch